

TL;DR
To install SQL Server Data Tools (SSDT) for Visual Studio 2019, download Visual Studio 2019 Community, select the Data storage and processing workload with SQL Server Data Tools, then add SSIS, SSRS, and SSAS separately from the Extensions menu.
- Since SQL Server 2014, the BI platform is distributed separately from the SQL Server setup, and the install method changes with each Visual Studio version.
- Unlike SSDT 2017 (a single download and run), the 2019 version requires the workload plus per-service extensions.
- SSIS, SSRS, and SSAS each install as their own Visual Studio extension via Extensions, then Manage Extensions.
The Business Intelligence (BI) platform has been changing with each new version of SQL.
In the beginning, it was part of the SQL Server setup.
Since SQL Server 2014 BI platform started to be distributed separately.
The name of this tool and its installation method started to vary from version to version of Visual Studio (VS).
To install the SQL Server Data Tools 2017, you just need to download and execute. However, process has changed in the 2019 version.
I will show you all the processes of installing and configuring the SQL Server 2019 Business Intelligence development environment.
Download and install Visual Studio 2019
The first step is to download the Visual Studio 2019 Community from here: Download Visual Studio Tools.
Start the installation process.
Chose Data storage and processing
Select SQL Server Data Tools. Here is a quick video:
When the installation is complete, download the VS extensions. Three services - SSIS, SSRS, and SSAS - have been moved out of the standalone SSDT and introduced as extensions.
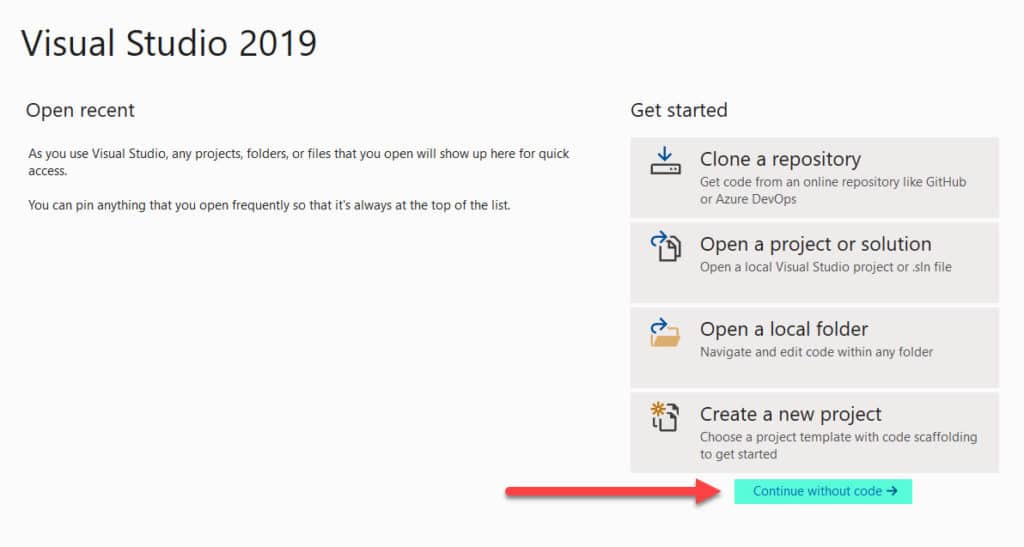
Add new extensions to Visual Studio
- Open the Visual Studio
- click on Continue without code
- go to Extensions
- then Manage Extensions
In the search bar of the opened window, type “SSDT” to locate all the SSDT extensions. From the list that appears, select one and click Download.
After downloading the extension, close the Visual Studio and execute the downloaded .exe file.
Follow the steps, and repeat for each service you need to install (SSIS, SSRS, and SSAS).
When the setup is completed, you can open the VS again.
Creating a new project in Visual Studio
In Visual Studio, choose Create a new project search for the type (e.g. Integration Services Project), and click on it, as shown below:
Your development environment is now set up!
Now you can create reports in Reporting Services (SSRS), load data using Integration Services (SSIS), and develop and deploy models in Visual Studio with Analysis Services (SSAS) projects.
If your SQL Server needs more than tooling setup, a senior SQL Server consultant can help.

